How to use Nano Banana Pro
How to use Nano Banana Pro on Omnely — pick resolution, write a usable brief, add references, and plan credits before the final render.
If you've been hunting for a clear, no-fluff walkthrough on how to use Nano Banana Pro inside Omnely, this guide covers the whole loop: opening the model, picking a resolution, writing a brief that actually gets you a usable image, adding reference images, nailing on-image text, and planning credits so your final render lands where you want it. Nano Banana Pro is Google's Gemini 3 Pro Image model — strong at photoreal subjects, 4K output, in-image text rendering, and multi-reference edits — and Omnely runs it on the standard credit checkout so you always know what a generation will cost before you press go.
How to use nano banana pro in six steps
What Nano Banana Pro is good at
Nano Banana Pro is the Gemini-family image model tuned for photographic realism and clean text on the canvas. It handles product shots, portrait-style close-ups, editorial hero images, and layouts that need legible words (packaging mockups, posters, ad creatives). It also supports image-to-image editing and accepts up to 14 reference images per generation, which is what makes brand-locked, multi-asset campaigns realistic.
You can try it on the Nano Banana Pro model page. It's listed as Free to Try to preview the interface — the actual generations you keep run on the standard credit checkout below.
Step 1 — Open the model and pick a resolution
From the Omnely image workspace, open Nano Banana Pro. Before you type anything, decide the output size. This is the single most important cost decision of the session.
| Resolution | Credits per image | USD equivalent | Best for |
|---|---|---|---|
| 1K (default) | 15 | $0.15 | Drafting, social tiles, thumbnails, prompt iteration |
| 2K | 15 | $0.15 | Blog heroes, most web use, moodboards |
| 4K | 20 | $0.20 | Print, hero banners, campaign finals, poster mockups |
At 1 credit = $0.01, jumping from 1K to 4K adds only 5 credits per image. The smart workflow is still to lock composition at 1K first, then re-run the winning prompt at 4K once for delivery. This keeps you from burning credits on 4K drafts you'll rewrite anyway.
You'll also choose an aspect ratio. Nano Banana Pro supports 1:1, 16:9, 9:16, 4:3, 3:4, 21:9, 3:2, 2:3, 5:4, and 4:5 — set this from the UI, not the prompt.
Tip: writing "4K" or "HD" inside your prompt is a stylistic cue, not a technical setting. Actual pixel size comes from the resolution and aspect controls.
Step 2 — Write a brief, not a sentence
The prompts that convert well on Nano Banana Pro read like a mini photography brief. A repeatable formula:
1. Subject — who or what, doing what
2. Setting — environment, surface, background
3. Lighting — direction, quality, mood
4. Camera — shot type, lens, angle, depth of field
5. Style & texture — film stock, finish, realism cues
Skip vague adjectives like "beautiful" or "amazing." Trade them for lens focal lengths, lighting rigs, and material descriptions. That's the difference between a plastic AI look and a clean commercial frame.
Step 3 — A pasteable prompt for a studio tote
Here's a working example you can drop straight into Nano Banana Pro. It's built for a product shot of a canvas studio tote — the kind of asset a marketing team might need for a landing page hero.
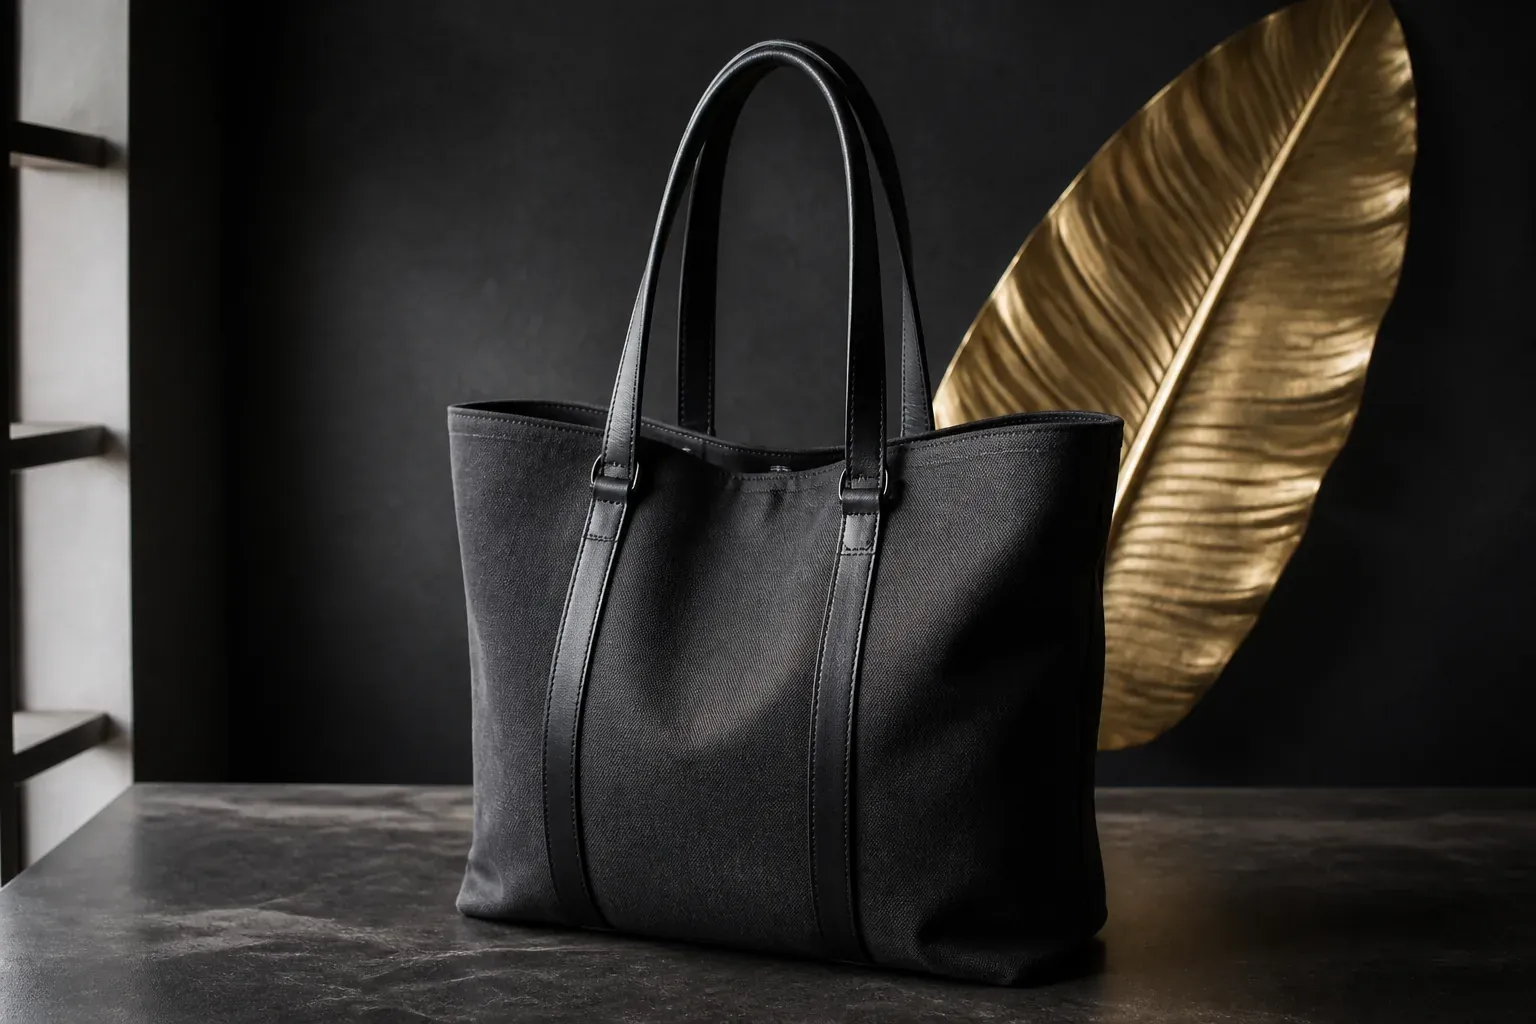
Example still of the studio tote brief below (Nano Banana Pro on Omnely).
A natural canvas studio tote bag placed upright on a warm oak
tabletop, morning window light from camera-left, soft shadow
falling to the right. Shot on a 50mm lens at f/2.8, three-quarter
angle, subject centered with generous negative space above.
Fabric texture crisp and legible — visible weave, subtle wear at
the handles. Muted neutral palette, matte finish, editorial
product photography, shallow depth of field, faint film grain.
No people, no logos.
Run this at 1K first (15 credits) to confirm composition. Once the framing looks right, re-run the same prompt at 4K (20 credits) for the final asset.
For more copy-ready prompt structures across portraits, packaging, and scene work, see Nano Banana Pro prompts that actually work.
Step 4 — Use references and image-to-image
Nano Banana Pro really pays off when you feed it reference material. There are two common patterns:
- Style locking. Upload 2–4 images that share the mood you want — the model will pull lighting, palette, and finish cues without copying the subject.
- Brand consistency. Upload your logo, a color swatch, and an existing hero image. Ask the model to place a new product into the same visual world.
Because it accepts up to 14 reference images, you can also do character or object consistency across a set — three product angles, one packaging shot, one lifestyle scene — while keeping the look coherent.
To edit an existing image instead of generating from scratch, switch to Image to Image, upload your source, and describe the change:
Using the uploaded product photo, replace the plain white
backdrop with a warm cream paper sweep. Keep the product,
shadow direction, and label untouched. Add a small sprig of
dried wheat leaning in from the top-right corner.
Edits still charge the same 15 credits at 1K/2K or 20 credits at 4K.
Step 5 — Text rendering that actually reads
One of Nano Banana Pro's headline strengths is legible on-image text. To get it right:
- Quote the exact string. Put the words in quotation marks:
the sign reads "OPEN DAILY 7–3". - Specify the surface. Tell the model whether the text sits on a paper label, an enamel pin, a chalkboard, or a neon tube — the material dictates the letterforms.
- Name the type feel, not the font. "Condensed serif, letterpress-style" works better than a specific typeface name.
- Keep it short. One-line headlines and short labels render cleanly. Full paragraphs are risky; use a design tool for body copy.
A quick example prompt:
A cream ceramic coffee mug on a linen napkin, the mug has the
words "SLOW MORNINGS" hand-lettered in a condensed serif in
warm brown. Overhead angle, soft north-facing daylight, food
editorial style.
Step 6 — Iterate cheaply, deliver at 4K
A sensible session looks like this:
1. Generate 3–4 variations at 1K (15 credits each) to test framing and lighting.
2. Pick the winner. Refine the prompt — tighten lens, adjust light angle, correct any text.
3. Run one final at 4K (20 credits) for delivery.
Total spend on a polished hero image: roughly 65–80 credits ($0.65–$0.80), without gambling on expensive drafts.
For a full breakdown of what each option costs and how it compares to other image models in the workspace, see Nano Banana Pro price in credits.
When to pick Nano Banana Pro vs alternatives
Nano Banana Pro is not always the right tool. Rough rule of thumb:
- Nano Banana Pro — photoreal subjects, on-image text, 4K deliverables, multi-reference brand work.
- Nano Banana 2 — faster, cheaper for concepting; check the head-to-head in Nano Banana 2 vs Nano Banana Pro.
- Other Omnely image models — Z-Image for cheapest drafts, GPT Image 2 for structured layouts, Seedream for stylized editorial. Browse them all on the image generator hub.
Common mistakes to avoid
- Prompting "4K" and expecting a bigger image. Set the resolution in the UI.
- Generating 4K drafts. Iterate at 1K, then commit to 4K once.
- Overloading text. Keep on-canvas words to a short line.
- Vague briefs. No lens, no lighting, no material = generic output.
- Forgetting aspect ratio. A 1:1 draft won't crop nicely to a 21:9 banner — pick the ratio up front.
Try it in the Omnely image workspace
The fastest way to internalize how Nano Banana Pro behaves is to run three or four briefs of your own — a product shot, a portrait-style scene, and one text-heavy layout — at 1K, then promote the winner to 4K.
Open Nano Banana Pro or start from the Omnely image generator, and pair it with the prompt library in our prompts guide to get shipping-quality assets in your first session.